Adding a Shadow
Layer to a cutting file using SCAL2
The cutting file used in this example is from www.mypapercraft.com. The files are
shown as they are imported into the program and in the final layout format. This
is what the file should look like once it has been put together.
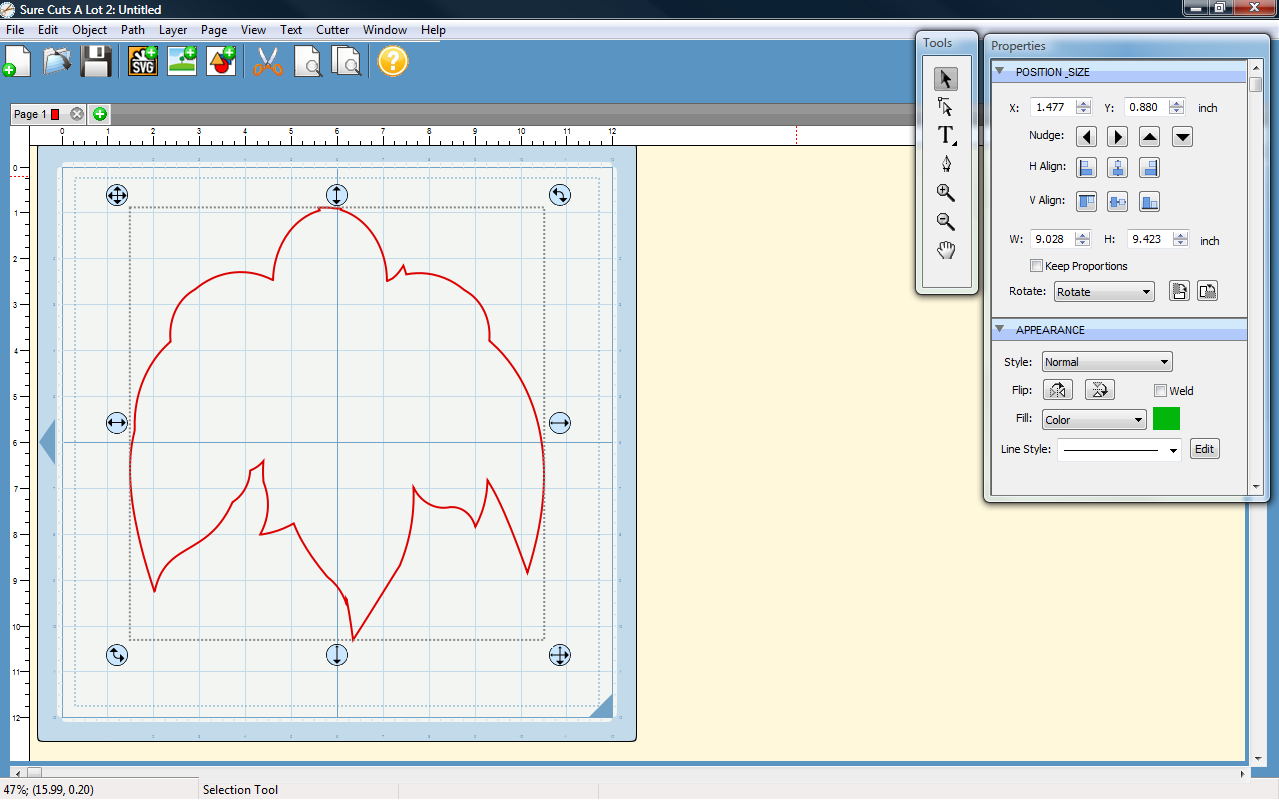
- Open SCAL2 and import the svg (File: Import or Ctrl+Shift+I). Size it to the final size you want to cut. Make a copy of the image by clicking Ctrl+C and paste this onto another page. It is important to do this so that the shadow layer you are going to create and the cutting file are the same size. You can then cut your project using the original file on the next page.

2. Ungroup the image. (Object: Ungroup or
Ctrl+Shift+G) Now select all of the pieces by “drawing” a square around all of
the pieces.

3. Making sure the image is selected, you now need to weld the pieces together. (Path: Union) This is what your image will look like now.

3. Making sure the image is selected, you now need to weld the pieces together. (Path: Union) This is what your image will look like now.
4. The next step is to
make this image into a shadow layer. Go to the Appearance box which will be
displayed when you click on the image on the mat. Choose the drop down box
beside style and select one of the three shadow styles.


Click on each one in turn to see which will
be the best for your shadow layer.
5. This is your final shadow layer.


No comments:
Post a Comment