Friday, January 31, 2014

Clean and Simple Cards

Have been doing a few cards recently and for a change, I made a couple of clean and simple ones.


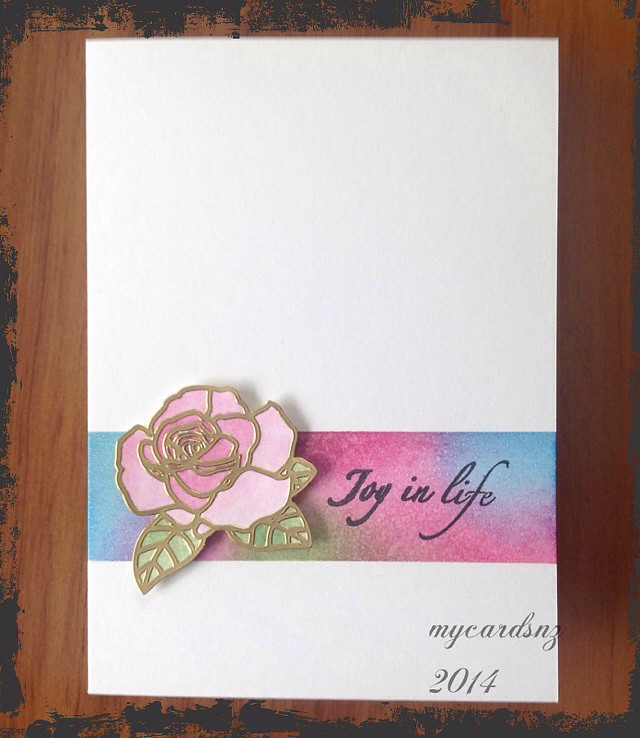
I have had a sheet of peel off stickers for ages that I did not know what to do with. I found it again when I had a clean out and decided to try this. I stuck the peel off rose onto a piece of card then coloured it using distress markers (Picked Raspberry and Mowed Lawn) and a water brush. It is easy to get the shading when you use the water brush, picking up the colour from the craft sheet, rather than using the distress marker direct to paper.

To make the coloured strip, I used wide post it notes to block off a strip on the front of the card, then used distress inks (Picked Raspberry, Salty Ocean and Mowed Lawn) to put the colour down. When I finished that I gave it a light spray with water to change the flat look of the colour.

The sentiment is from a freebie set in a magazine I got recently.
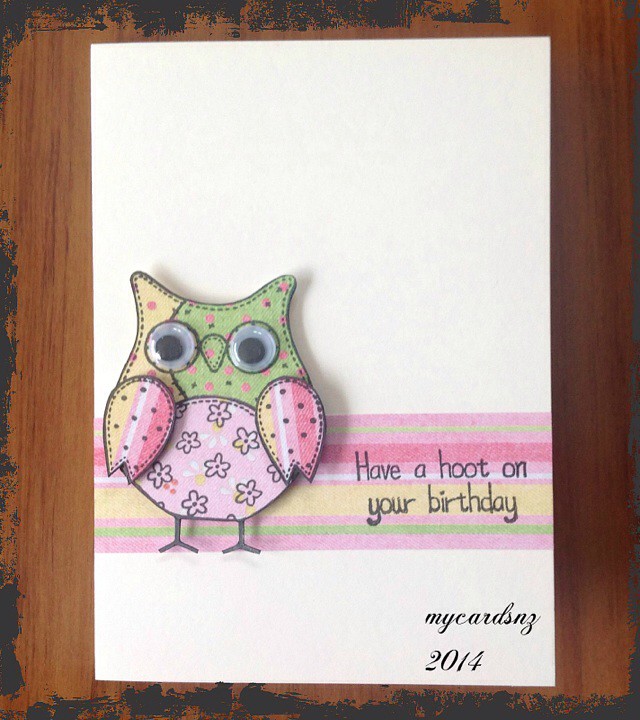


The second card, slightly less simple, but effective, used paper piecing for the image - something I have not done a lot of for some reason. I stamped the owl image on several different coloured sheets of paper and cut out the components, before attaching them to a stamped image on a piece of card. I cut out the owl and added eyes then attached the wings with foam squares.

For the sentiment strip, I cut a piece of the coloured paper used for the paper piecing and stamped the sentiment on that.

The owl is attached to the card with foam squares to give it some dimension. Both the owl stamp and the sentiment were freebies from a magazine I bought last year.

Over at http://simplylessismoore.blogspot.co.uk they are having a Clean and Simple challenge this week, so I thought these might be just the thing. Have not entered any challenges for a very long time, so what better time to start than in a new year!


- Posted using BlogPress from my iPad
Friday, January 24, 2014

Wedding Cards

Recently, I had to make some wedding cards for friends and these are the designs that I came up with.


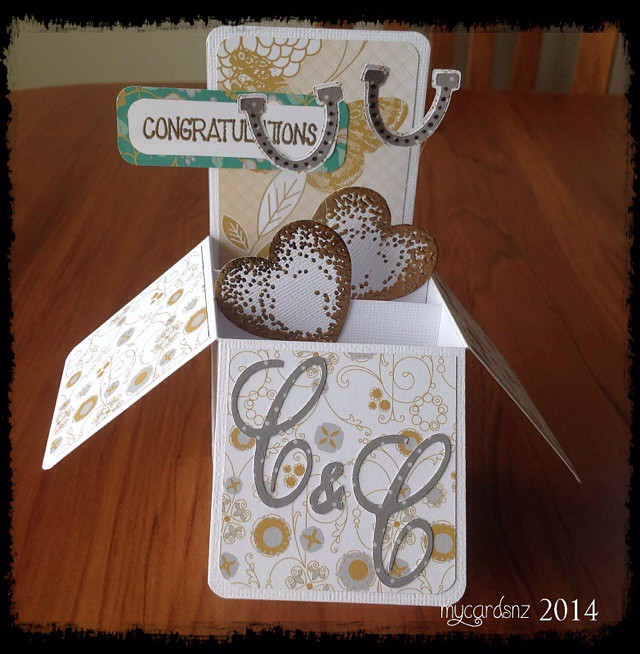
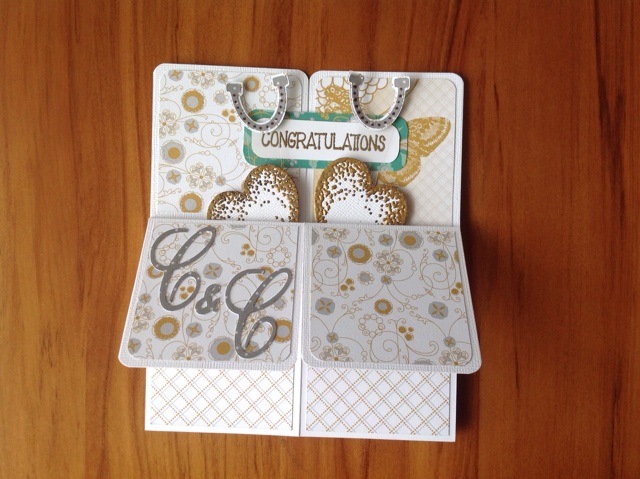
This box card was based on an idea from a recent SplitCoast Stampers tutorial. It is a great card for a special occasion as it folds down flat for posting, then opens up and sits like a box for display!


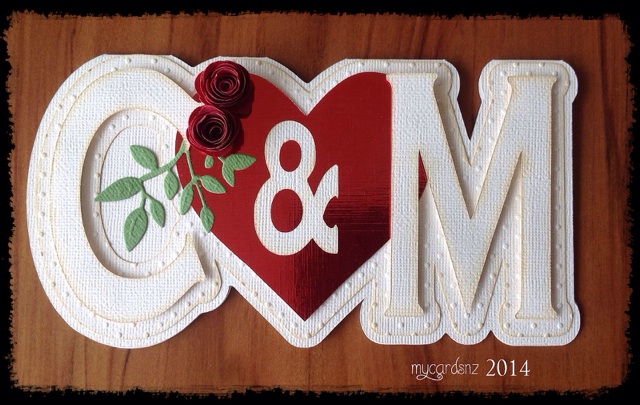
This card was designed using SCAL2 and cut with the Cricut. I chose the font for the letters then made the background using the shadow feature. The card itself was designed by joining two identical pieces (one flipped to join its corresponding letter) and welding the pieces together in the software. I then made various layers for the letters. They are all cut from the same card and I used antique linen distress ink on the edges to make them stand out. I embossed the background layer with the swiss dots embossing folder. Added flowers and the die cut leaves for added interest.


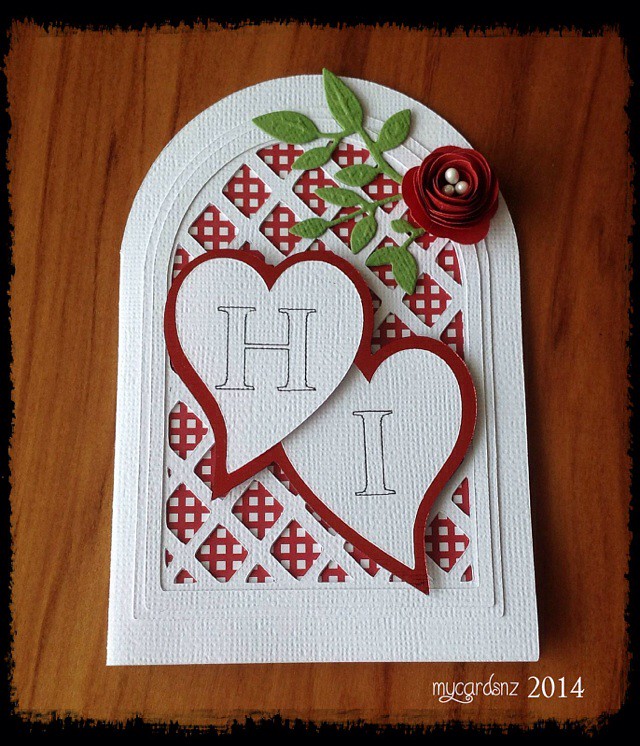
For this card, I used a design from Penny Duncan Creations for the base card. The hearts were done using SCAL2 and cut with the Cricut. I used the pen tool in the Cricut to write the initials on the hearts.


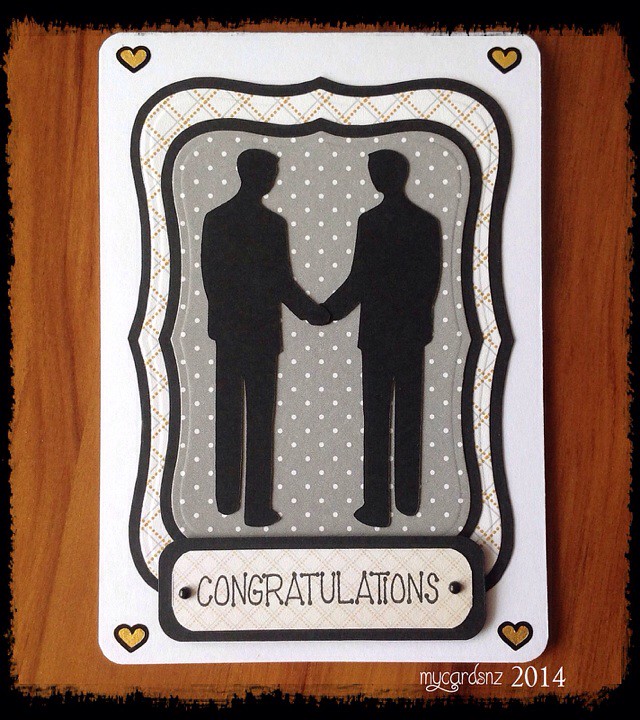
My daughter was invited to the wedding of her next door neighbours recently and I did this card for her to give them. I used the Weddings cartridge and the Cricut Craft Room to cut the figures out. The backgrounds are die cut and layered onto a base card. The hearts in the corners were peel off stickers and I added some gold Smooch to highlight them.


- Posted using BlogPress from my iPad
Thursday, January 2, 2014

Mini Album with a Travel Theme

I recently completed this mini album for my daughter, who is on a month-long trip to India. She will have taken lots of wonderful photos and hopefully she will find this album useful to put them into.

I put together a short video of the finished product and will be posting a more detailed tutorial soon.


YouTube Video

- Posted using BlogPress from my iPad