Wednesday, January 30, 2013

Chilly Celebrations

Today's challenge over at My Paper Crafting with CWC is Chilly Celebrations. While people in the Northern Hemisphere are chilling out, we, in the Southern Hemisphere, are enjoying the best summer weather we have had for some years, it seems!

For this card, I used the Christmas Cards cartridge and my Cricut Expression to cut all the pieces.

All of the elements on the card were from the cartridge and I embellished the central layer by making holes around the edge to add a little more interest!

I also used the Christmas Cards cartridge for this one, cutting the layers at different sizes.

The stamp is from a Gina K Designs set I recently purchased, as is the sentiment.

For the colour on the snowman's hat and scarf, I paper pieced these, stamping the same image onto blue paper and cutting it out then attaching to the snowman.

For contrast, I added a blue spotted ribbon from American Crafts across the top layer.


Enjoy the challenge this week. Hope to see lots of people participating.

Tuesday, January 29, 2013

Anniversary

On Sunday my lovely husband and I celebrated 40 years of marriage, so I made this card for him.
I used the Cricut Expression to cut all the elements of the card. The lettering was done using Lyrical Letters and the layers were done using shapes from the Cricut Craft Room Basics.


- Posted using BlogPress from my iPad

Wednesday, January 23, 2013

Wintery Outdoor Fun

Yes, another post for the CWC Wonderful Wednesday Crafts with Cutters Challenge and the theme for today is Wintery Outdoor Fun!

I have just been out in the garden cutting dead heads off the roses and the temperature is soaring towards 29 degrees, so I am not really in the mode of winter at the moment! [Ed: That is Celsius! It actually got to 31 degrees officially]

However, back to today's challenge.

I used three cartridges to make this card, Joys of the Season for the ice skate; Lyrical Letters for the words, and Cricut Craft Room Basics for the layers on the card.

I made the easel card and added the two layers for the pop-up bit. The ice skate has a shadow layer and I coloured the skate part with silver smooch ink. I also added some silver to the eyelets on the boot.

I cut a fancy tag using a spellbinders fancy tags die and inked it while it was still in the die to get the blue touches around the centre and at the sides of the tag. Stamped a sentiment from a Gina K set and mounted it on foam dots to provide a stop for the top fold.
Added some silver corners to finish it off.

Please pop over to the CWC blog and enter this week's challenge and do have a look at all the beautiful cards the other DT members have done. They are stunning!

Monday, January 21, 2013

CWC Cartridge Showcase - Lyrical Letters

Hi everyone. This week's Monday Cartridge Showcase at My Paper Crafting.com features the Lyrical Letters Cartridge. I have bought the cartridge as a digital one through the Cricut Craft Room, which makes it very easy to cut from as you don't need to insert the cartridge in the machine! It is also available right after purchase in the CCR, so you don't need to wait for it to be posted!

 What I really like about this cartirdge is the fact that there are seven different fonts to choose from, each of which has a capital option as well as lower case.

There is a variety of shapes and words available on the cartridge, which again, makes it a very versatile one to have.

I have made 5 different projects to showcase the versatility of the cartridge, and those of you who follow my blog, know that I am not really into scrapbooking much, but I have even done a layout for you to see as well!

 This is a simple Valentine Card that is cut right from the cartridge. I used the Connected font selection and cut the frame at 4". The flowers are part of the frame so it cuts as one piece. I added some clear beads to the centres of the flowers using Glossy Accents.

The stamp is from a Hero Arts words set that I use quite a lot!
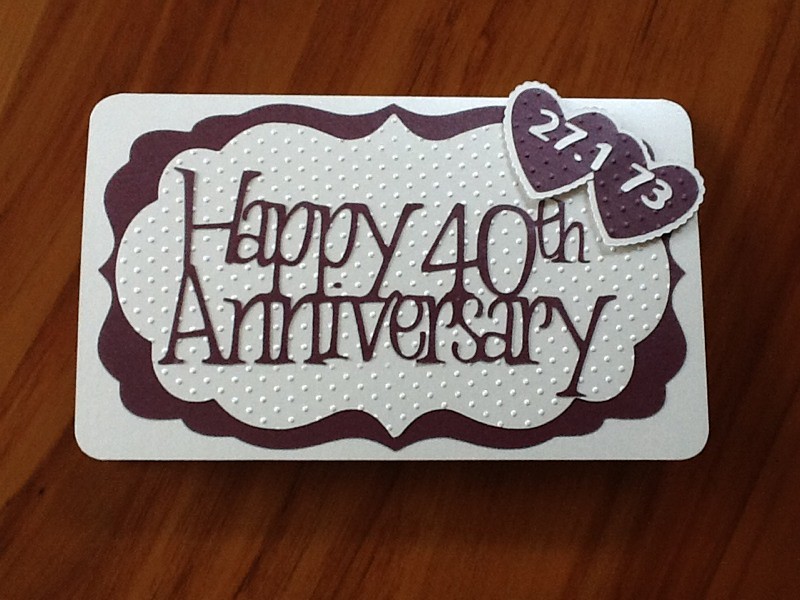
 For this card, I used the Connected font again and cut the sentiment at about 5" wide.

The heart and layers were cut from the Craft Room Basic font selection. I embossed the top heart layer then stitched around it with the sewing machine. I did the same with the layer on the card before adding it to a black card, then onto a white base card cut to fit.
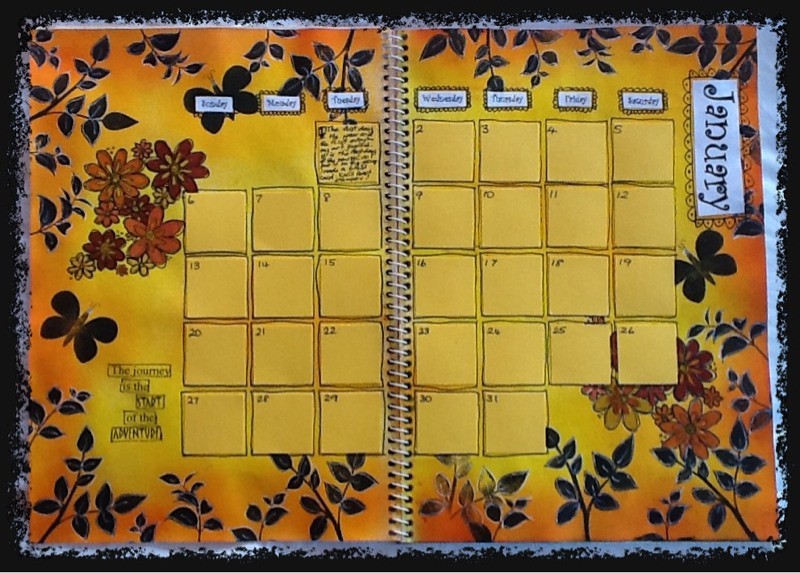
 For my scrapbook layout, I used the Spring word from the Baisc font on the Lyrical Letters cartridge and cut the leaf and flower in different colours. The leaf borders were cut from the Jack Sprat shift/lock font. I added some stamped leaves and a journalling block with peeled paint distress ink and added a little picket fence distress marker to the stamped images to highlight them a little. I also added faux stitching to the lettering with a white ink pen.

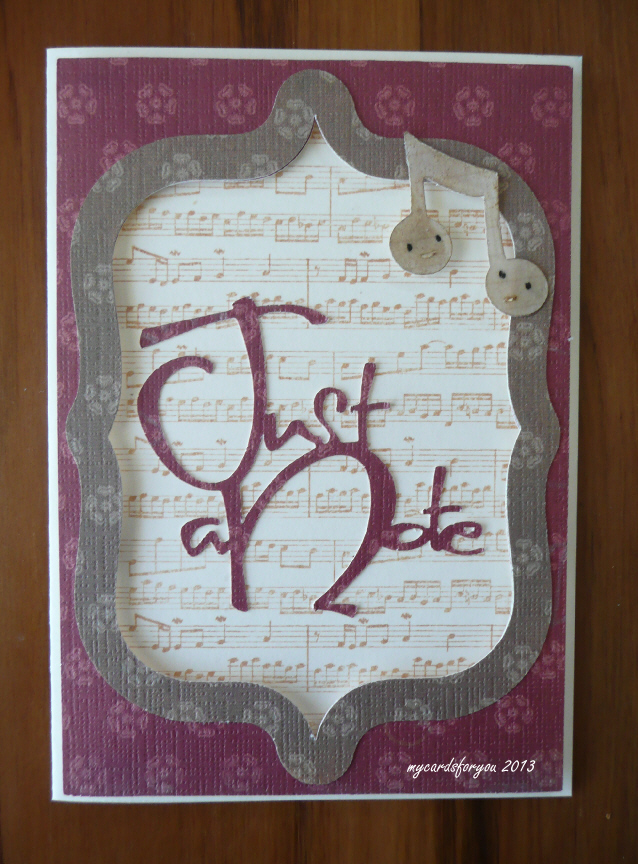
For the Just a Note card, I cut the frames from the Italic Monoline font, the notes and sentiment from Capital font.

I stamped a music background using a Gina K music stamp in Tea Dye distress ink then layered it underneath the frame. The frame is raised from the card using foam dots to give a little depth.

The music notes were coloured a little with Walnut Stain distress ink then coated with Glossy accents and attached to the frame.


The final card was made using the LoopDeeLoo font. I added the letters separately then welded them together before cutting them out.

The layers on the card were cut using  CCR Basic. I stitched around the top layers with the sewing machine and added some flowers, a diecut leaf and some pearl bling to finish it off.


Hope you have enjoyed looking at this showcase using the Lyrical Letters cartridge and that it inspires you to get it or to use it if you already have it!


Sunday, January 20, 2013

Double Slider Card

 I was asked to make a special 65th Anniversary card for a friend's parents and decided to try out this double slider card that I saw on Split Coast Stampers last week.

I really liked the idea of the card and was very pleased at the way it turned out!


The picture below shows it when it is "opened". It slides out the top of the card instead of opening at the side or bottom. Because it would not stand on its own, I made a little stand for it using the card stand from the Fancy Frames cartridge (using my Cricut). The stand looks like a mini Eiffel Tower and the card sits on a little ledge part way up the tower.


You can write a message on the smaller slider part of the card.

A fun card to make!

Wednesday, January 16, 2013

Wonderful Wednesday Challenge CWC


Well, back again with another challenge from the Craft with Cutters Challenge series.

The theme for this challenge is Bundle Up Baby! You need to make a project that reflects the need to bundle up in the cold weather currently being experienced in the Northern Hemisphere. Not like here in the southern hemisphere where we are looking for ways to cool down!


My card for this project is quite a CAS one, and I used my Joys of the Season cart with the Cricut. The base card and the mittens were both cut from the cartridge.

I added black pen to the tiny cuts on the mittens to show the stitching and a mini-pompom as a snowball.

I stamped around the edge of the card with a cross-stitch stamp, reflecting the cross stitch on the mittens. The sentiment is a new stamp I got recently from Gina K.

Please join in the fun with this challenge over at My Paper Crafting here.

Friday, January 4, 2013

Inspiration

Have been inspired in the last couple of days by articles that I have read or have seen on the web.

In the December Craft Stamper magazine, there was an article by a lady from France in which she showed how to use distress stains with templates to produce rather delicious designs on cards.

I had a play, using the same colours as she did and this is the result:

I used Tim Holtz stamps for the sentiment and flourishes  and drew around the template for the inked lines.

The colours I used were Dusty Concord, Mustard Seed and Barn Door distress stains.

The flowers were from my stash that I really need to use up!


I also made a birthday card for a friend using Tim Holtz ideas and distress inks and stamps.

I used peeled paint, faded jeans and frayed burlap to colour the background, then spritzed with water and dried it off. This gives a lovely mottled looking background. Stamped the nibs and men using Stazon Timber Brown and added the words on the background with pumice stone.

I stamped the sentiment with distress embossing ink and used vintage photo distress EP to give it texture. Added some colour using the same as the background.

Finished it off with card candy coloured with walnut stain and a brown ribbon.

Wednesday, January 2, 2013

Tags of 2013

Another year and another series of Tags from Tim!

Saw the tag for this month and decided to give it a go. Set myself a challenge to complete all the tags for 2013 - first resolution for the year!!

I didn't have all the embellishments that Tim used in his tag, so I improvised with what I had.

Inks used: Iced Spruce, Stormy Sky, Rusty Hinge and Walnut Stain.
Stamps: all from Tim Holtz sets - pointing hand, clocks and time sentiment.
Embossing Folder: Retro Circles (Sizzix)

Dies: Gadget gears Bigz, ticket strip and mini clock.

Other stuff: metallic distrss stains, filmstrip, seam binding.

And I wrote in my journal as well!

Tuesday, January 1, 2013

Art Journalling in 2013

A New Year and a start to keeping an art journal/diary.

I decided to make an art journal that reflects what I do each week with my crafting.


I used Dylusions dyes to colour the pages and stamped various images using Gina K and Dylusions stamps.
The days and month were printed on the computer and added to the page.
Hopefully I will be able to keep up my entries in this journal.

- Posted using BlogPress from my iPad