Sunday, December 15, 2013

Voyager Box and Ultimate Organiser

Recently, I finished a project I had been working on for a while. I found the design at www.paperphenomenon.com for both the box and the Organiser and bought them to have a go! With the design you get the measurements for cutting and instructions for making them up. The designer, Kathy Orta Files, also has very good videos on YouTube showing each step in the process.

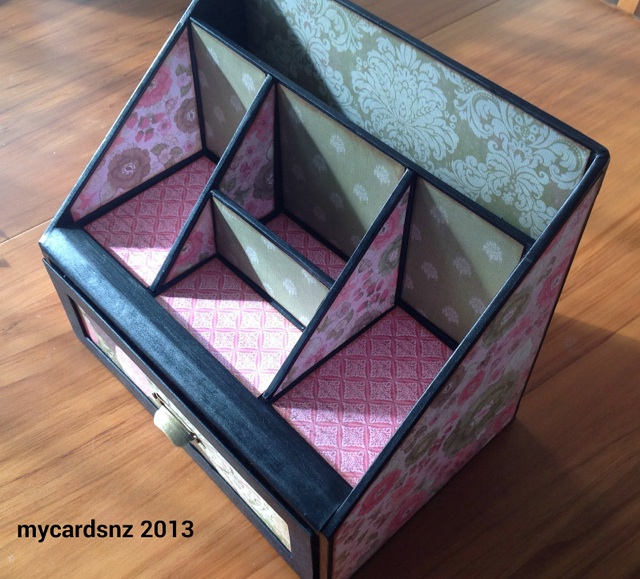
The photos show the finished box and the organiser that goes with it.


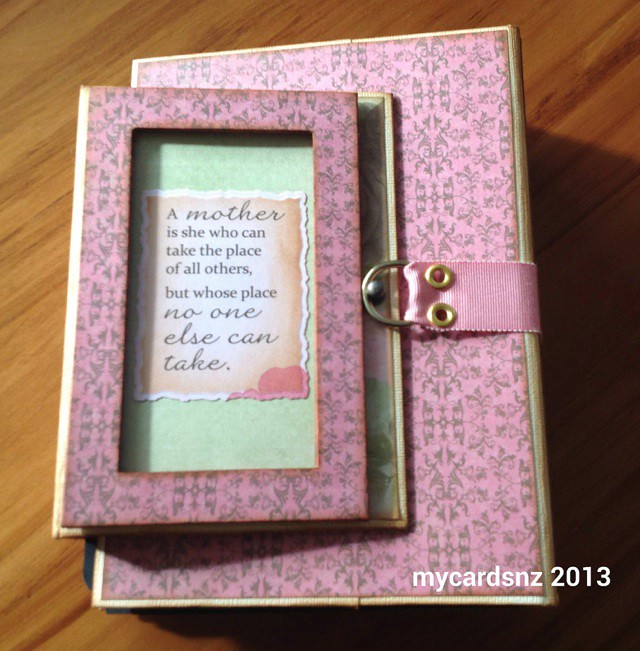
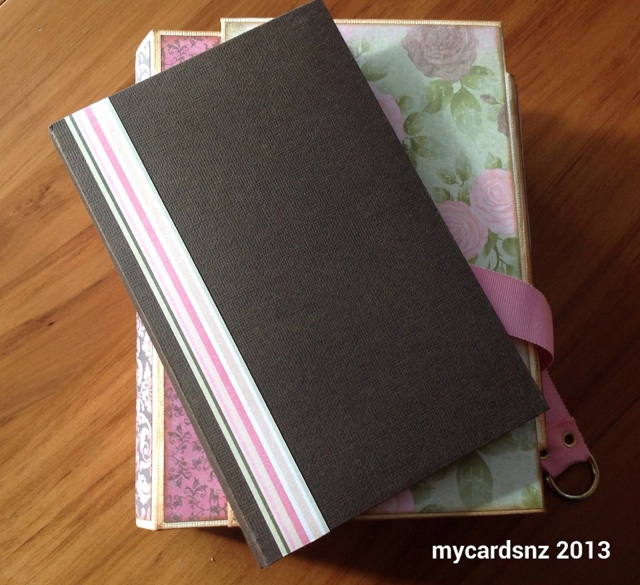
This is the organiser closed, showing the front cover and the closure, which is just a D-ring attached to a grosgrain ribbon using eyelets. The ring slips over a hitch post.


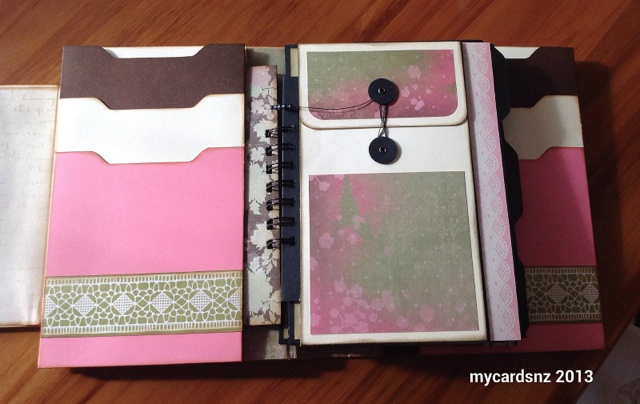
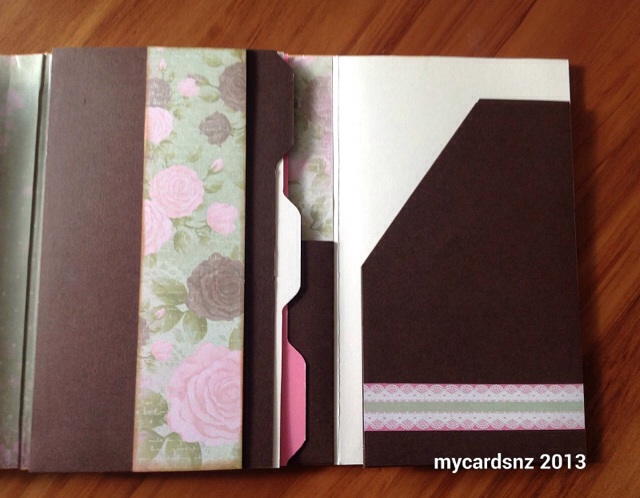
Inside the organiser, there are a number of fold out pieces that have pockets attached to the fronts, and have slide-in pockets on the sides. There are also envelope type pockets.


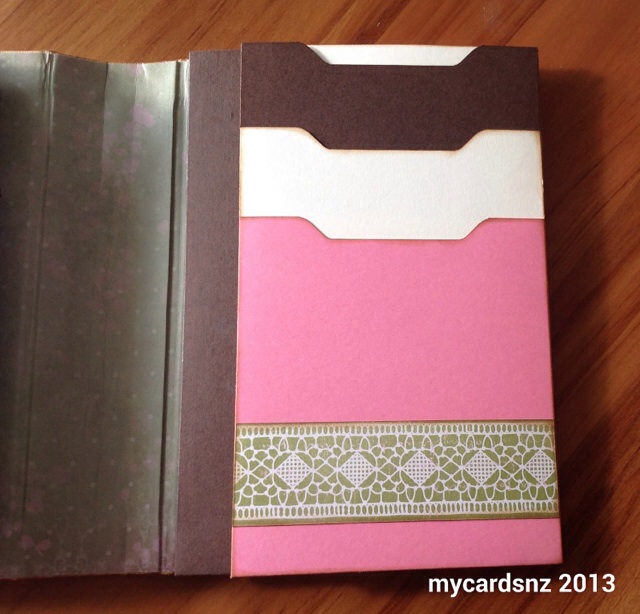
This picture shows the file top pockets/folders that are in the back of the organiser.


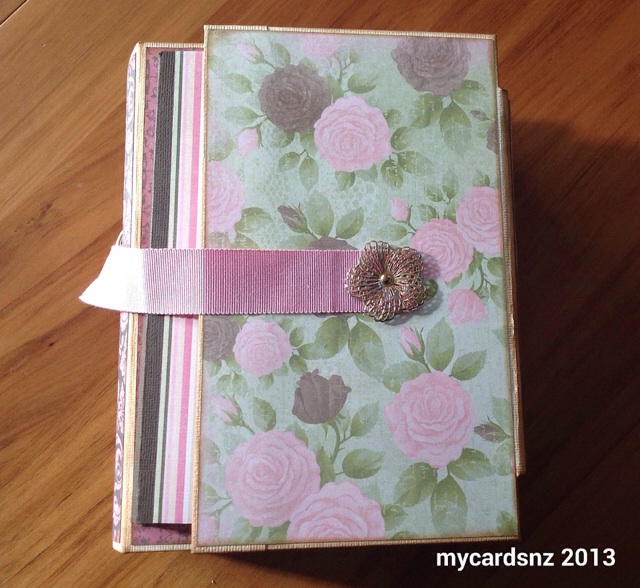
This is the back of the organiser with a pocket for the diary (below). The ribbon is attached to the back with a metal flower from Prima (one of the left-overs from the class I did with Finnabair earlier this year).


Really enjoyed making this project and hope to make some more of Kathy's projects soon.


- Posted using BlogPress from my iPad

Such a long time...

I have just realised that it is a very long time since I have blogged any of my recent work! I have actually been quite busy out in the craft room and have just not gotten around to adding anything to my blog.

While I was in the UK, I picked up some little calendar tabs at a craft shop and made some of them into little calendars.


To make the backgrounds, I used some coasters that I bought at IKEA (the round ones) and some blank coasters I have had in my stash for a very long time! I covered the square coasters with papers from my stash (again!) then matted the calendars and added some brads before attaching to the coasters. To make them stand, I used another coaster (again covered with paper), punched 2 holes and added ribbon to tie them together. This enables the coasters to stand up.

For the round ones, I cut some stands from the Fancy Frames cartridge on the Cricut and attached them to the back of the coasters. Added a cute doily that I cut using a Marianne's Creatables die before attaching the calendar.

For all of the calendars, I edged the coasters with vintage photo distress ink and added some flowers to each. These will make cute little gifts for Christmas Stockings this year.


- Posted using BlogPress from my iPad