What have I done with it you ask? Here are some pictures of things I have made so far!

Importing svgs into the Explore is not the same as using other cutting software, as the svg does not come in at the size it was designed to be. Hopefully, when Provocraft announces its updated software in a week or so, they have fixed this so you don't hae to fiddle round with the file!

This card and the one below feature images of girls and flowers titles which were cut using the print to cut feature of the machine. The images imports really well into the Cricut Design Space software, it allows you to size it to what you require and sends it to the colour printer with no problems that I have encountered so far.

I was most impressed with the quality of the cutting of these images.
I have not yet worked out if you can cut the images with a white border around them, sort of like a shadow layer. I will be working on finding this out!
These images came from the Printable Craft Shop and they really are cute!
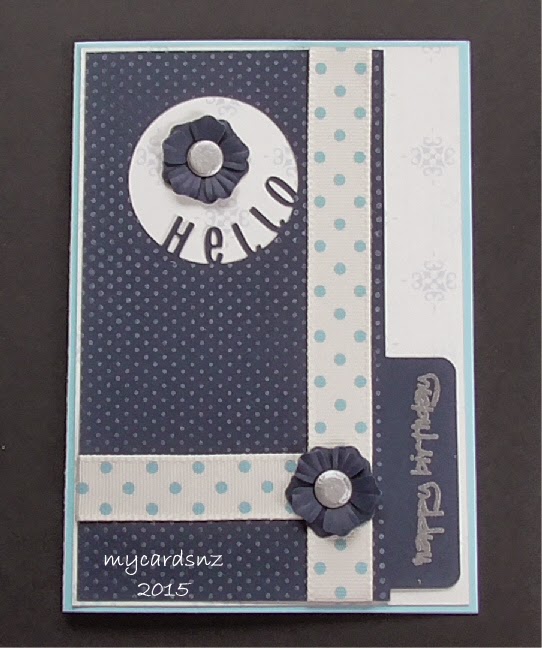
I saw a card like this recently in an Australian card making magazine and thought I could replicate it by designing a cutting file. With the Design Space software, it was quite easy to design the entire card. The blue part is a separate layer and has the circle cut out, but leaving the letters attached to the card. I stamped the layer with a dotty background stamp and white ink, and the sentiment is stamped and heat embossed with silver.

Very simple, but effective!

I used a sentiment from the DS software to design this card. I found a label shape that I placed on the front of the card. Then I used the shadow layer for the sentiment to join the letters to the card and weld them together. I cut the base card, a shadow layer of the words in black then the words in white and red. To finish off the card, I used a strip embossing folder to make a debossed pattern at the top and bottom of the card.
I really had fun making these cards and playing with my toy!
