Thursday, January 30, 2020

Cascade Card - How to make one!

This week was the first meeting of my craft group for the year. I had made a lovely Cascade card for a wedding recently (see previous post) and thought it might be fun to try doing one without using the Cricut to cut it out.

Here are two of the cards I made for the meeting.


Instructions:
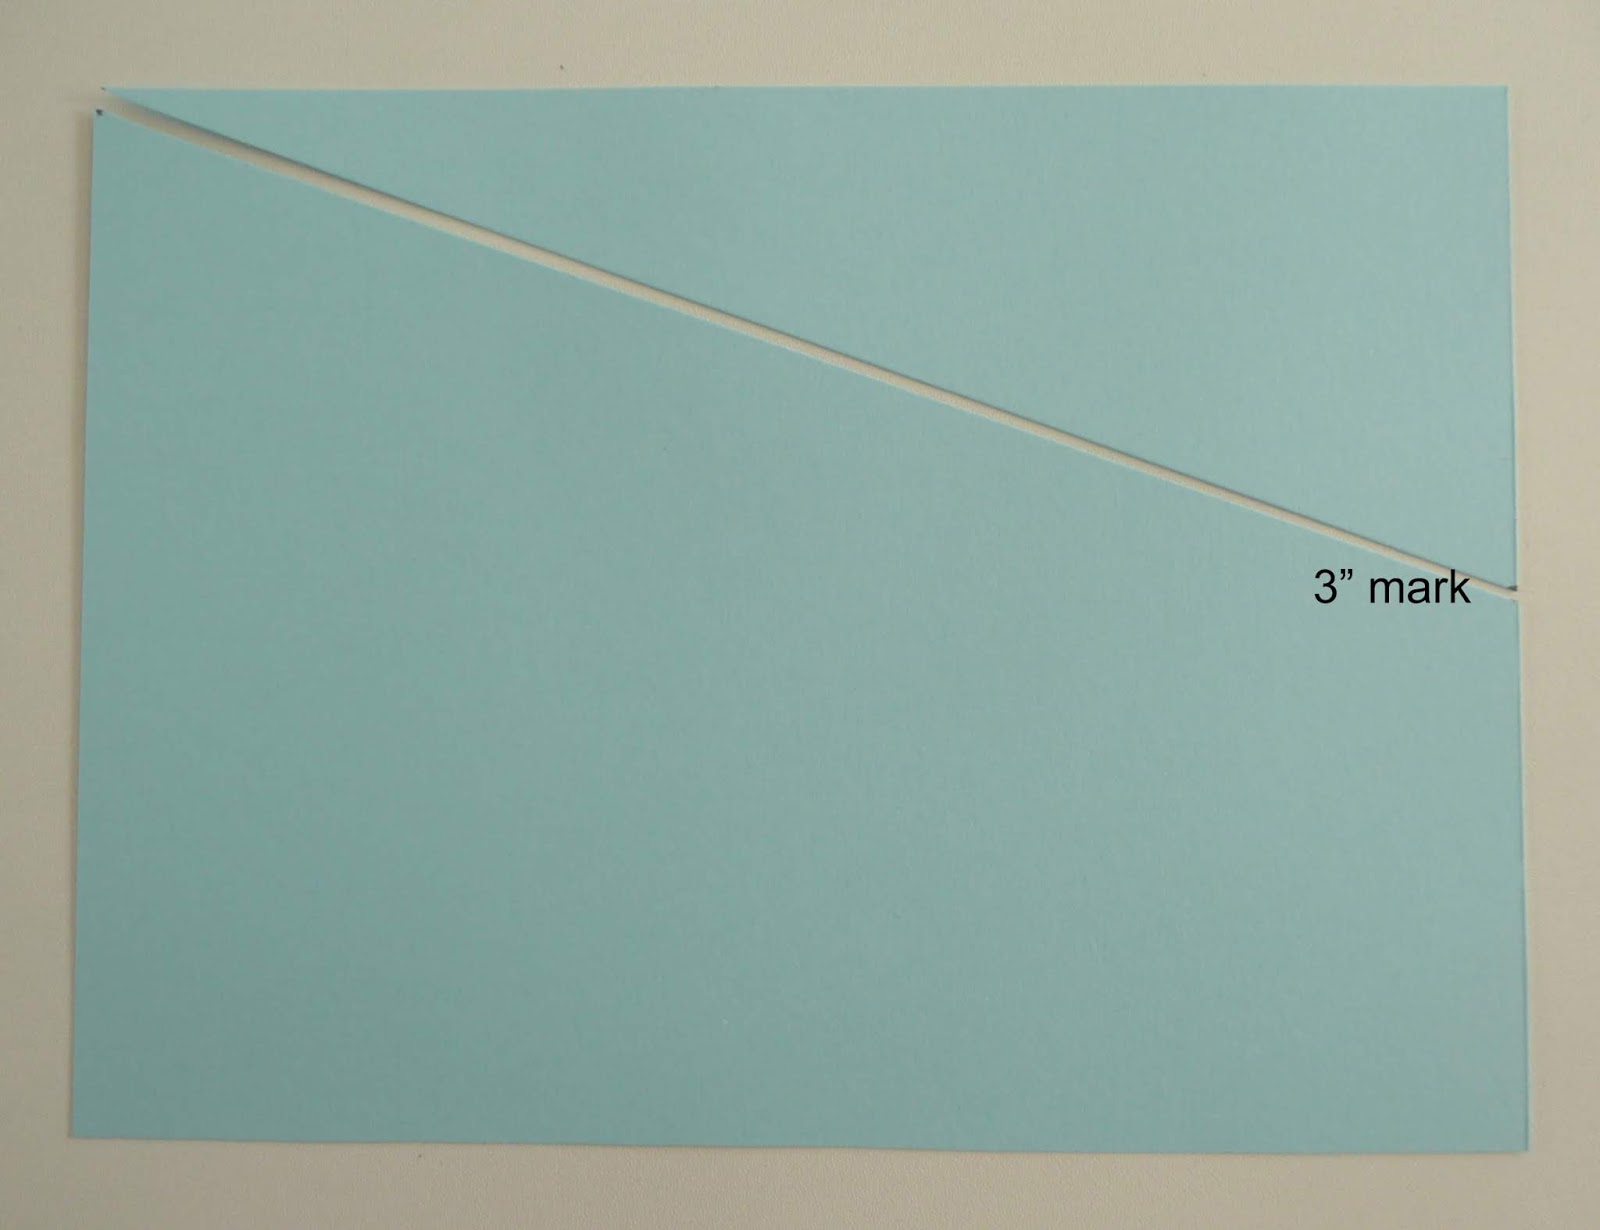


Cut 2 pieces of card – 6” x 8”
Measure down 3” on one of the 6” sides and make a mark.
Repeat for the other piece of card. 


Cut the top off the card from the top of the card opposite the mark down to the mark at 3” on the 6” side. Keep the offcut for decorations. Repeat for other piece of card.* You could use decorative scissors, edge dies or edge punches to do this.

Score on the straight 8” edge at 2”. 4” and 6” on both pieces.


On one piece, cut along the 2” and 6” scorelines     
from the bottom to about halfway along the scored lines.
On the other piece, cut from the sloped edge along the
 2” and 6” scorelines to about halfway along the scored lines.


Fold all the scored lines then slot the two pieces of card together with the shorter ends together so they form an interlocked concertina and can stand up.

Push the two sides together so both are sitting on the table evenly. If they will not do this, you may need to snip the cuts on the folds a little further. 
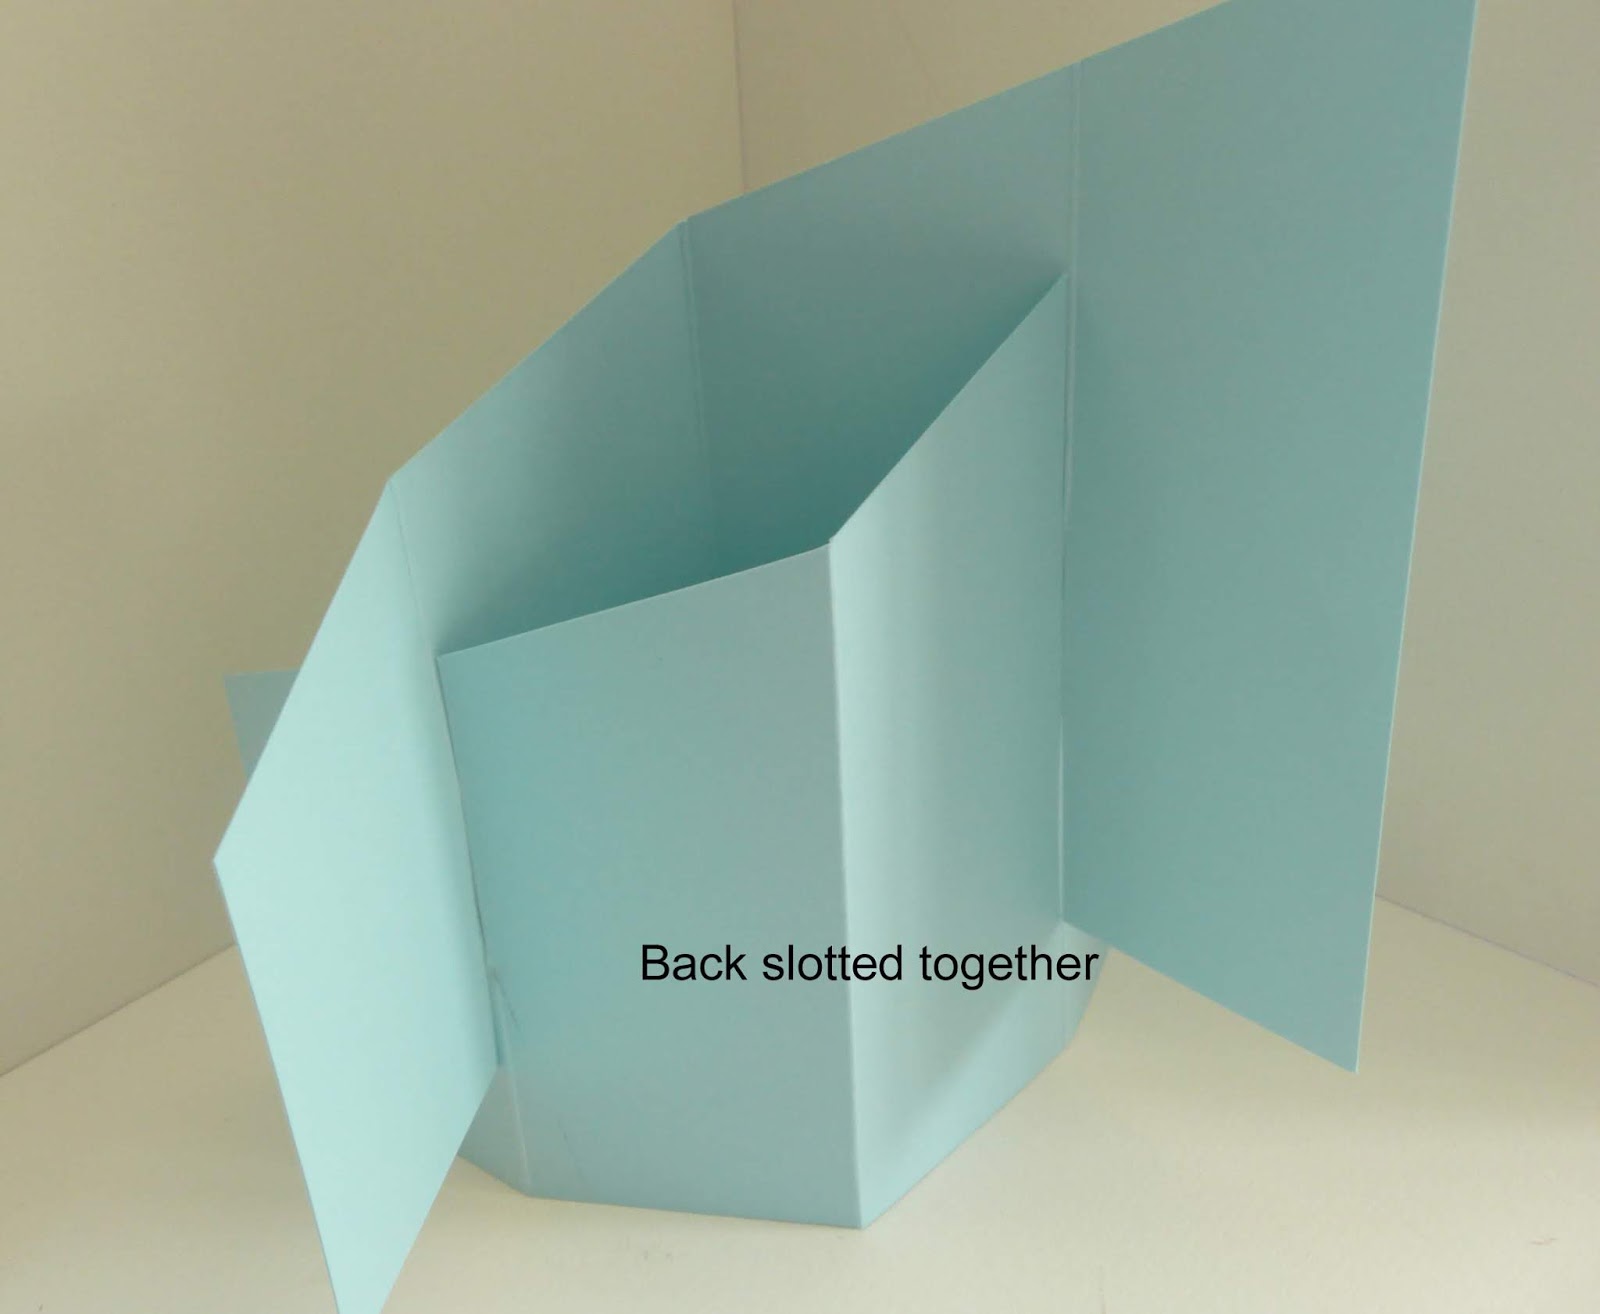


Cut two pieces of double sided designer paper at 6” x 8”. Cut as for the base card to *, with the back sides of the paper facing the other to provide a mirror image.

Cut each piece at 2”, 4” and 6” so they are the same size as the folded pieces of the base card.


Place each piece where you would like it, making use of the pattern on the reverse to provide a contrast. Trim a little (between ⅛” and ¼”) from the side and bottom of each piece so that when you attach it to the base card, there is a narrow border around each piece. 


Decorate as desired using stamped and die cut flowers, die cut labels, stamped sentiment as appropriate. You can add a panel on the back to write a greeting on and this will make the card more stable.
 

If you make this card, please leave a comment below. Thank you. 


Monday, January 13, 2020

Happy 2020!

Greetings and Happy New  Year for 2020!

My craft room has been not so busy lately as we have been doing family things and looking after grandchildren. However, I have managed to do a bit of a spring clean and make a couple of things. 

My daughter needed a wedding card for her friend getting married last Friday. Dreaming Tree has some lovely card files and I chose the lily card from the Cascade Cards Bundle. If you want to see more of their designs click on the link to Dreaming Tree on the sidebar.


I made the card from Close to my Heart French Vanilla cardstock and gold foil card. The panels on the front and back were embossed in the Cuttlebug and the lettering was done using the Quill Foil in my Maker machine. The entire design was cut using the Cricut Maker. 

I added pieces of gold foil card behind the leafy cutouts on the front to show them up. 

Very pleased with the result.

Sunday, September 8, 2019

New Cricut Cartridge

Close to My Heart has released a new cartridge for Cricut machines, Complete Creativity. This is a digital only cartridge and is for machines that use the Design Space app on a computer, laptop, iPad or mobile phone. For the first year, till September 2020, this is only available from Close to my Heart consultants.

Selection of images from Complete Creativity Cricut Collection  


The cartridge is a mix of cards and scrapbooking pages, but all images can be used on their own as well so it provides a lot of choices.

Here are a couple of the Christmas cards from the collection.


More to come!


Saturday, September 7, 2019

Fun with new Colours!

Loving the new colours from Close to My Heart which have just been released. Favourites at the moment are Wisteria and Julep.

Wisteria
Julep


 Both colours also come with matching ink pads and re-inkers!


I had a play with these colours which coordinate with the new Every Little Thing paper pack.


The stamps I used were from the September Stamp of the Month - Random Acts of Cardness. I love this set and you can get it from me only in September 2019!


Here are the cards I made. Note they are all using the same basic design, just changed up a little with direction and sentiment.


Please let me know if you want to know more about the new catalogues and paper sets. The patterned paper sets are only available for two months - September and October, so don't hesitate! You can check out all the new items by going to my webshop.

Sunday, September 1, 2019

National Stamping Month at Close to My Heart

Greetings from a beautiful Spring morning in Christchurch, New Zealand. The first day of Spring and the sun is shining gloriously in the sky. We are making the most of it as the weather for this month is supposed to be rubbish! A great month for spending lots of time indoors and stamping like crazy.

To celebrate National Stamping Month, Close to My Heart has put out a lovely stamp and die set with a focus on Christmas and Thanksgiving. Here in New Zealand we don't celebrate Thanksgiving, but the images on the stamp set are so appropriate for a lot of uses, including thanks cards and cards for children. This set is only available in September this year.

The full set comes with both stamp sets as well as two thin cuts dies to cut the window pattern shown in the left picture and the tag to go on the front of the card.

If you want to know more about this set, contact me by leaving a message on this blog or through my Facebook page here.


Here are a couple of Christmas cards I put together using the set. I used a stamp positioning tool to stamp all the images on the background layer before attaching the window card to the front. All the images were heat embossed.


I used gold embossing powder on this card and Candy Apple CTMH card for the window frame.
For this card I used silver embossing powder and CTMH  Willow for the frame. Unfortunately Willow is not now available in the CTMH selection but there are other beautiful green colours that can be used instead.


Sunday, March 17, 2019

Love Blossoms

Love, love, love the Love Blossoms card workshop available this month from Close to my Heart.

The kit makes 12 cards and envelopes with enough materials left over to make the layers for at least another 6-8 cards. You can buy additional cards and envelopes to complete them.


The stamp set that comes with the workshop is stunning too. It includes the beautiful floral stamps as well as the shading for the flowers and a wide range of greetings.


The workshop is available until the end of March so if you are interested, please let me know.