This week's creative cardmaking class will have a theme of Circles.
I needed some inspiration and went to Pinterest to get some. I found some amazing cards using circles and the ones I was inspired by, were some of the nicest.
I used Cricut Design Space to design the cards and to cut them as I would have taken all day to cut each of the circles and other shapes. The Design Space file can be found here.
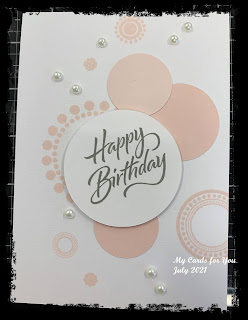
The first card is stamped then circles added. The step by step process is as follows:
1. Stamp the circles on a tent fold card. I used my Misti 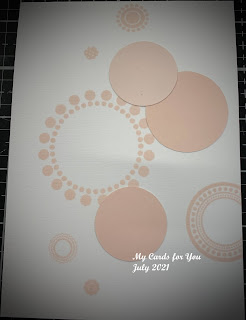
4. Stamp the greeting onto the large circle and apply glue to the back of it. You could also use foam tape to add some dimension.
5. Add sticky pearls or other dimensional elements to complete the card.
This is a reasonably simple card to make and does not take very long to put together.
I used Close to my Heart stamps from various sets, CTMH cardstock for the circles - Bashful. The ink colour was Bashful and I stamped it several times to get a deeper colour.
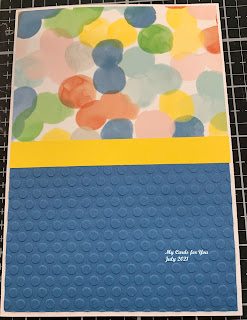
The second card involves attaching circles onto card them embossing the card.
1. Lay the circles onto the card layer in an arrangement that pleases you.
. When you like the arrangement, apply glue to the back of the circle. Make sure it is covered well, but not so much it will ooze from the sides when attached. Glue is preferable to DS tape as it will soak into the card a little and get a better result when it has been embossed.
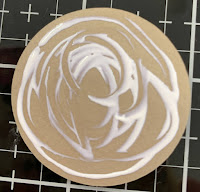 | ||
| Cover circle well with glue |
2. Place the card into the desired embossing folder making sure it fits from side to side. It may not fit the length, but that will be solved in the next step. Give the card a light misting of water to soften the card and to prevent the card from cracking when it has been embossed. Run through your embossing machine up to about 2/3rds of the way down the card.
Remove from the embossing folder and it will look a bit like this.
Turn the card around so the unembossed part is at the top of the folder. Carefully align the embossed part of the card with the embossing folder so the pattern will be repeated. You can place some washi tape on the card to keep it in place in the folder.
Run the embossing folder through the machine again, but stop before you get to the end of the folder, as before. This will stop getting a line across the pattern.
NOTE: You can only do this process with an embossing folder that has a repeating pattern and is non-directional.
3. Allow the card to dry completely or give it a bit of heat from a heat tool to dry it quickly. If the card bends a little, place it under a heavy book or other weight so it will be flat when you glue it to the base card.
4. Glue the card to the A2 side folded base card and allow to dry. DS tape can be used, but will not stick well if the layer is still a little damp.
5. Stamp the greeting on the large circle then attach this to the bigger layer. Add foam tape if desired and attach to the card.
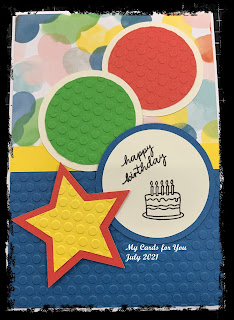
The third card has more pieces but it relatively easy to put together.
1. Select the smaller coloured circles and the smaller star and run through the embossing folder of your choice. You can also emboss the bottom piece of the top if desired.2. When the embossing is complete, attach the embossed pieces to their corresponding bottom layers. Again, glue may be better than DS tape as it will attach around the embossed parts better. (See below)
3. Layer the three top layer pieces onto the base card. Do not attach until you are happy with the placement of each piece.
4. Stamp the greeting on the larger circle and attach it to its shadow layer.
5. Arrange the elements on the card then glue in place when you are happy with the arrangement. Use foam tape for some if desired.



No comments:
Post a Comment