I was telling a friend about it and she asked for a tutorial so decided to make a short video showing how simple the technique is.
In the video, I used a gel medium to do the background but you can also use any sort of texture paste that will set to a firm pattern.
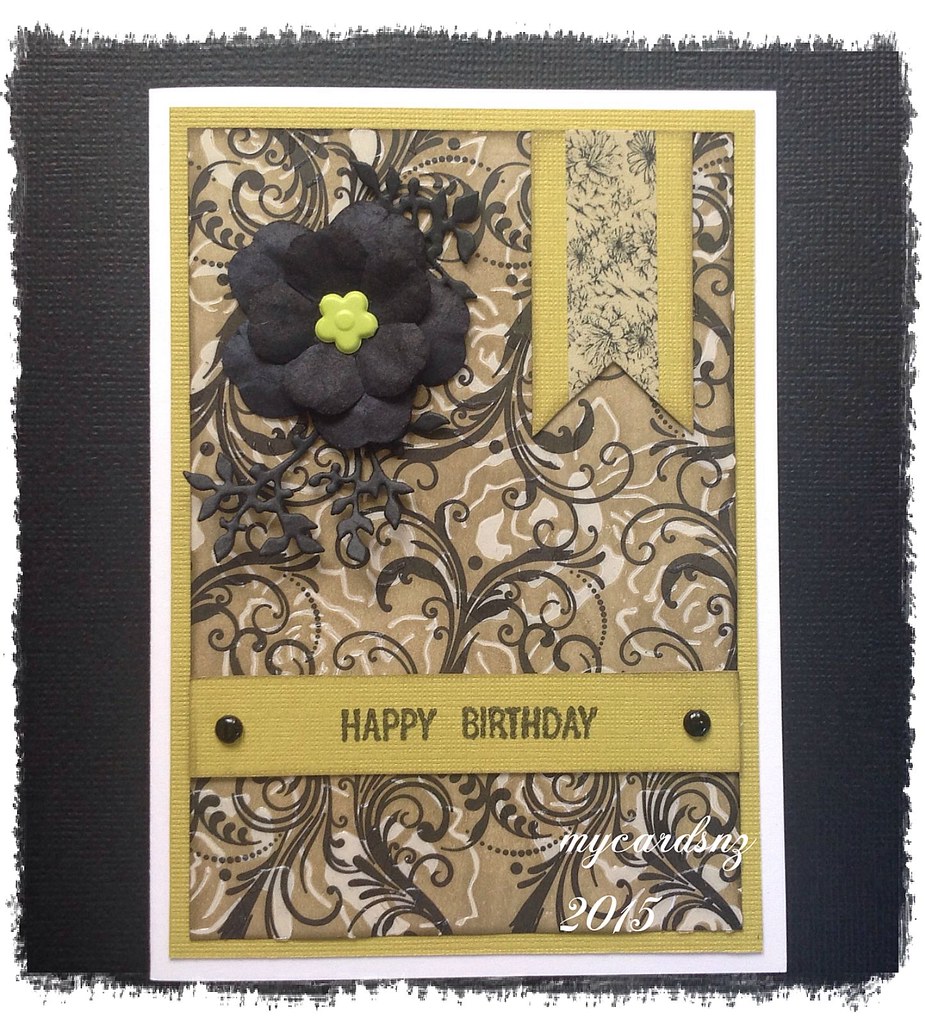
This card background is done with a gel medium on cream and black patterned paper. I also used frayed burlap distress ink to highlight the stencilled background.
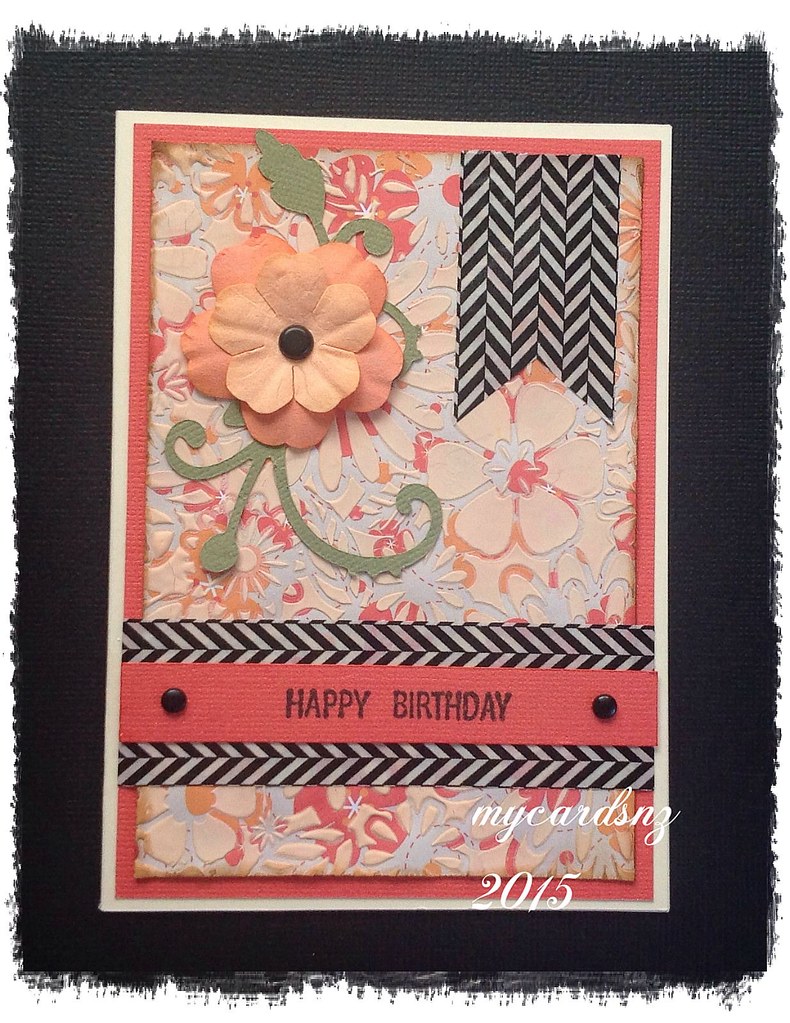
The background on this card was done with home-made texture paste which was slightly coloured with a pinkish toned acrylic paint. Because this paste contains water, it does tend to cause the paper to curl when it dries, so it would be better to use a thicker card for the background.
I also did a bit of research on texture paste and found a recipe for making your own. A number of websites have similar recipes, but the one I used is as follows:
1/4 Cup baby powder
1 tbsp PVA glue
small amount of coloured acrylic paint (can use white or other colour)
Small amount of water.
Put the powder, PVA and paint into a small screw top jar and add the water in small amounts, stirring with a wooden stirrer as you add the water. It should be a thickish paste, fluid enough to be able to spread.
I used a commercially produced stencil for my examples but you could make your own stencils using die cuts or a cutting machine.
- Posted using BlogPress from my iPad
No comments:
Post a Comment