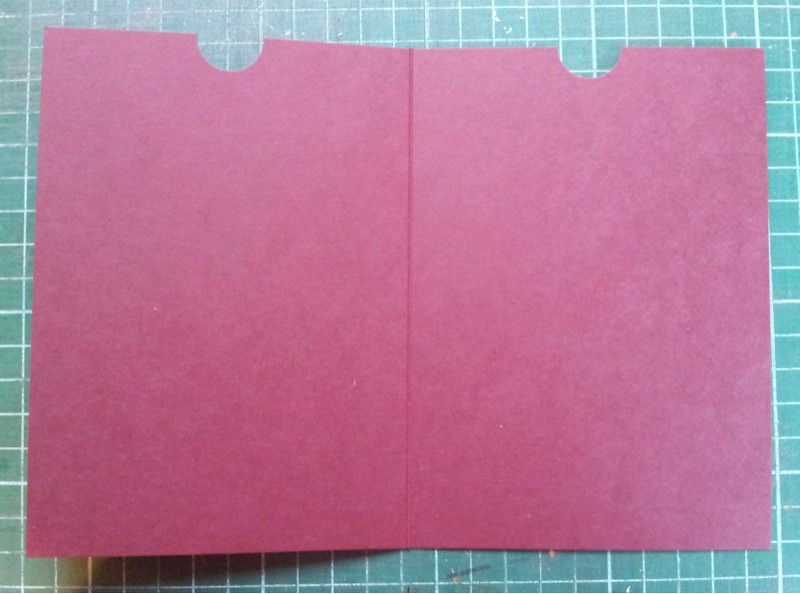
1. Take a piece of A5 (half an A4 sheet) cardstock and fold. Punch a half circle from the centre of the top of each half of the cardstock.
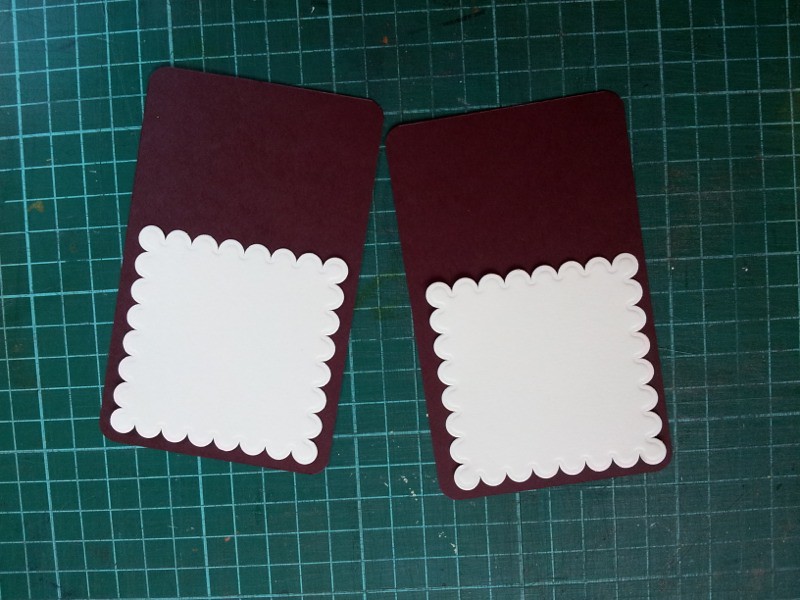
2. Cut 2 pieces of the same cardstock approx. 7.5cm x 12cm. These will be the pieces that slide in and out and will be decorated. Only about 2/3rds of the slider will actually show. Decorate these before putting the card together. Make sure your decorations are at the ends of the card that will slide out. They will be opposite ends.
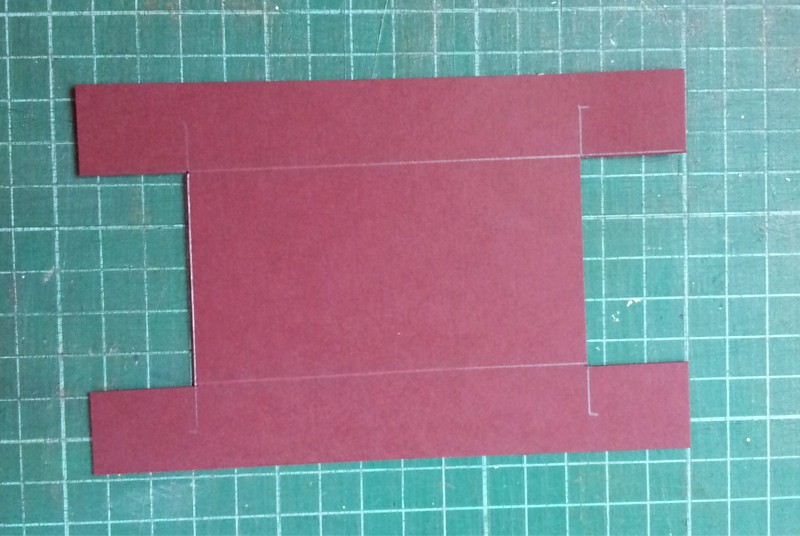
3. Cut another piece of cardstock 9cm x 14cm. This will form the base of the sliding mechanism. Take one of the smaller pieces and line it up at the bottom of the 9x14 card and make a pencil line on the larger card at the top of the smaller piece. Do the same at the opposite end of the card.
4. Find the centre point of each of the lines and measure 2.5 cm from the centre point to each end of the line. Do this at both ends of the card. Using a ruler, draw a line from one end of the card to the other end, matching the pencil marks 2.5 cm from each centre point. You will see a rectangle drawn in the centre of the card now.
5. Using scissors, cut out the small rectangle at each end of this card, making it into an H shape.
6. Take a piece of plastic almost the same width of the centre part of the H and twice as long plus about 2cm. Wrap it around the centre of the H-shaped card and tape it together loosely - it needs to be loose enough to slide around easily.
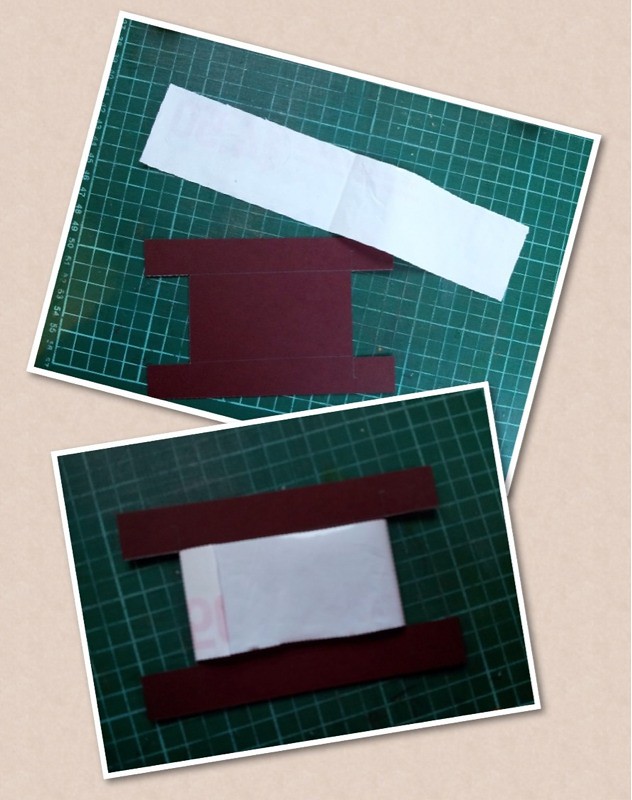
7. Place the join of the plastic at the left end of the H-shaped card. Tape the right hand slider to the top of the plastic facing you. The decorated side will be upwards. Now place the second slider part underneath the H-shaped inner piece at the left hand end with the decorated part facing up. You will only see a part of this piece. Turn the whole lot over, then tape the second decorated piece to the plastic. Note that you are taping it on the right side and will place it face down on the plastic slider. Check to see that your slider works by pulling each end out.
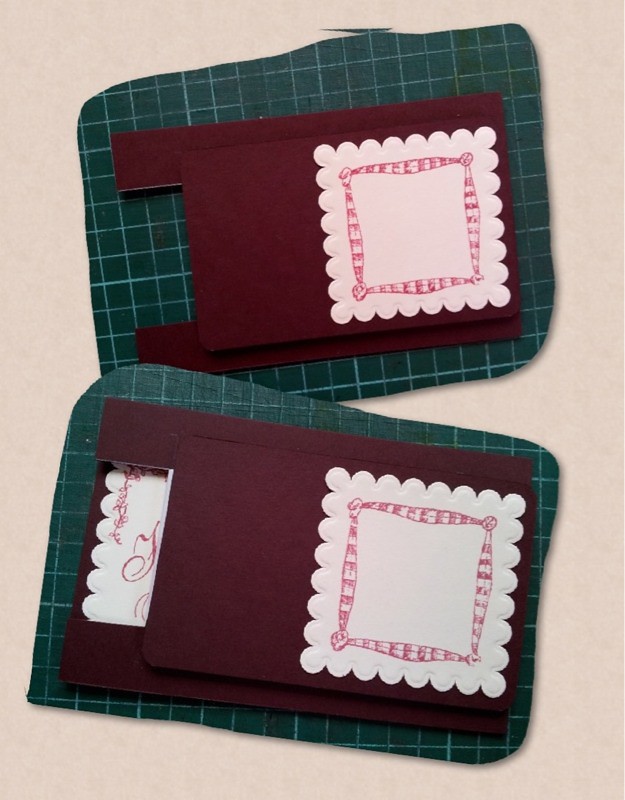
8. Turn the whole piece over and place DS tape (1/4" wide) along each long side. This is to attach to the inside of the card. Place the H-shaped inner on the card with the half circle punched out piece on the right and stick it down. Check to see that the slider mechanism works by closing the card and pulling the tab that shows through the punched half circle.
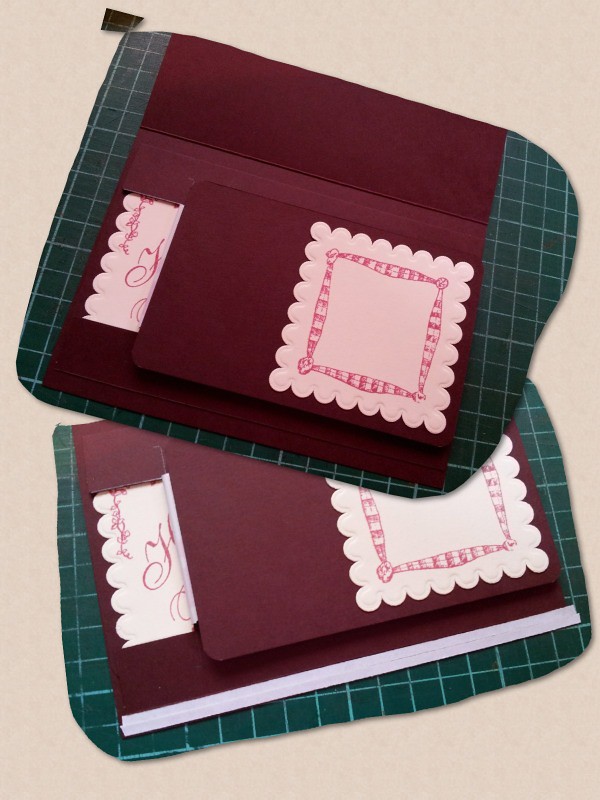
9. Place a narrow strip of DS tape along the open side of the card then stick it down. Check the slider again.
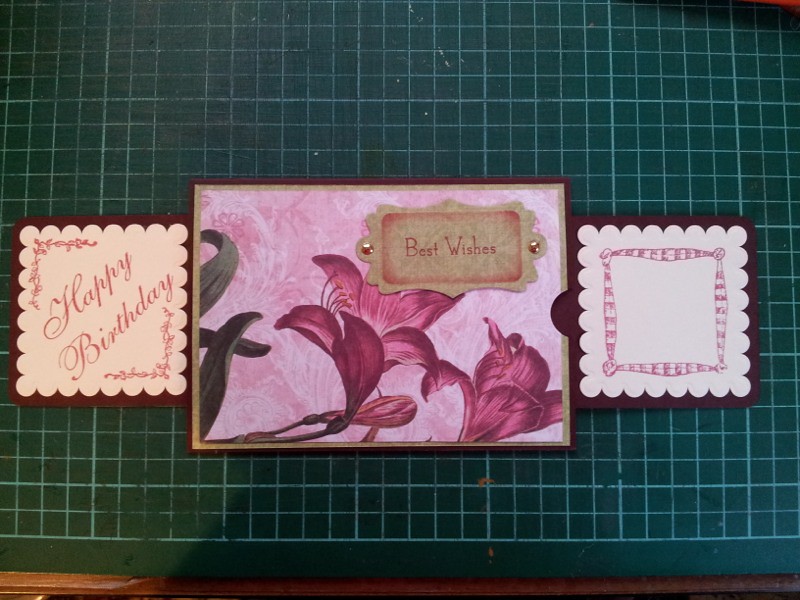
10. Finish your card off by decorating the front.
- Posted using BlogPress from my iPad


