Sunday, February 8, 2015

Experiments!

If you have been following my blog recently, you will know that I bought a new Cricut Explore cutting machine a couple of weeks ago. I have fallen in love with it! Not only does it do excellent print to cut, the software is relatively easy to use and allows you to design your own projects using images that you own as well as being able to access 25,000 images on-line with the free 12-month subscription that came with the machine!

What have I done with it you ask? Here are some pictures of things I have made so far!

 This card is made using an svg file from Bird's Cards It is the Daisy card and I found it relatively easy to import the svg then sort out the different colours for it to cut on the machine.

Importing svgs into the Explore is not the same as using other cutting software, as the svg does not come in at the size it was designed to be. Hopefully, when Provocraft announces its updated software in a week or so, they have fixed this so you don't hae to fiddle round with the file!


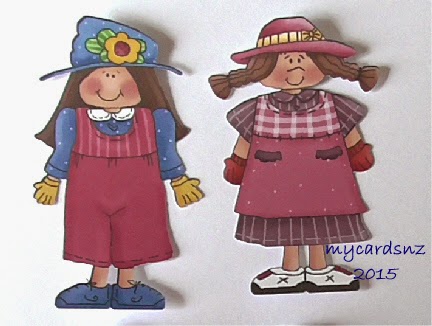
This card and the one below feature images of girls and flowers titles which were cut using the print to cut feature of the machine. The images imports really well into the Cricut Design Space software, it allows you to size it to what you require and sends it to the colour printer with no problems that I have encountered so far.


I was most impressed with the quality of the cutting of these images.

I have not yet worked out if you can cut the images with a white border around them, sort of like a shadow layer. I will be working on finding this out!

These images came from the Printable Craft Shop  and they really are cute!
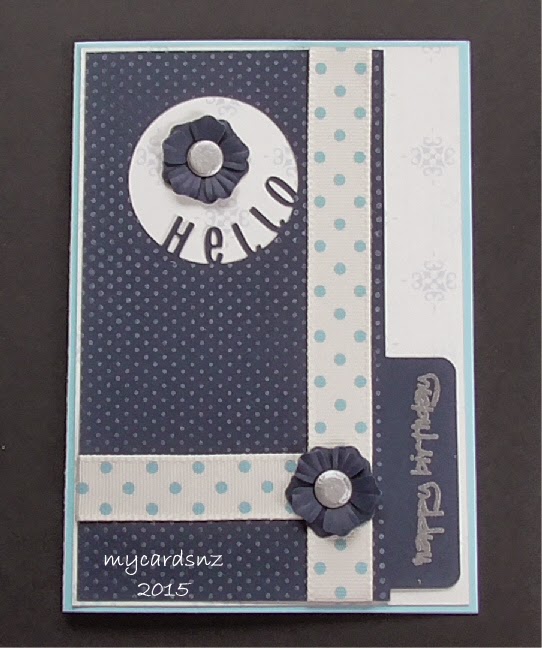


I saw a card like this recently in an Australian card making magazine and thought I could replicate it by designing a cutting file. With the Design Space software, it was quite easy to design the entire card. The blue part is a separate layer and has the circle cut out, but leaving the letters attached to the card. I stamped the layer with a dotty background stamp and white ink, and the sentiment is stamped and heat embossed with silver. 
 This card is a design in the Design Space files. I made a card using red foiled card and attached the top layer which was cut from white card.

Very simple, but effective!


I used a sentiment from the DS software to design this card. I found a label shape that I placed on the front of the card. Then I used the shadow layer for the sentiment to join the letters to the card and weld them together. I cut the base card, a shadow layer of the words in black then the words in white and red. To finish off the card, I used a strip embossing folder to make a debossed pattern at the top and bottom of the card.

I really had fun making these cards and playing with my toy!

Wednesday, February 4, 2015

Shaker Card with Video

Recently, I had to make a shaker card for a swap.
As I had just bought myself a new video camera for making craft videos, I decided to try it out making a video on how I put this card together.

Prior to making the video, I had prepared all the pieces I needed. Rather than using double-sided foam tape for attaching the clear acetate for the shaker mechanism, I cut some fun foam in the oval shape using 2 different sized oval dies. I describe this in the video.

The stamp used in the centre image is a freebie from the Craft Stamper magazine.

Apologies in advance for the brief loss of speech at the start of the video - it took ages to do the editing and I accidentally left the music on for a couple of seconds too long!


Friday, January 30, 2015

A New Toy!

After a lot of deliberation, I decided to get one of the new(ish) Cricut Explore electronic cutting machines. Well, it arrived today, even before I was out of bed!

Here it is:
The machine is very simple to look at and when you actually get to use it, it is also relatively simple to operate. Because you have to use it with the computer and the web-based Cricut Design Space, you do need to have it where the computer is, but I am so used to using my cutting machines with the computer, that is not an issue for me. With the machine, came a year's subscription to the on-line images - about 25,000 of them, so you can imagine the fun I have had this morning looking at all the images and having a play!

The best thing about the machine (that I have found so far anyway) is the print then cut feature on the machine. It is so easy to import an image (I used png files as they have a transparent background), print it to the colour printer then cut it out. The calibration was so much simpler than the Black Cat Cougar and the cut images were the best I have ever done (even with the BC!).

I used clip art images from the Garden Gals#1 set from The Printable Craft Shop to try out the print then cut function.

When you print the images, they come out with a thick black line around the image.

When the Cricut cuts the images, it cuts around the thin black line just on the edge of the image. It even cut out the little bits like the spaces between the legs. The cut quality was terrific - no tears or jagged edges.


Very pleased with my purchase!

Monday, December 29, 2014

Foto Folios 2

Recently, Kathy Files ( Paper Phenomenon) and Kathryn Krieger (Kathryn Scraps) had a special deal for design and making instructions for two sets of folios. I was most impressed with the styles they have produced for these folios and have made several since I bought the design instructions.


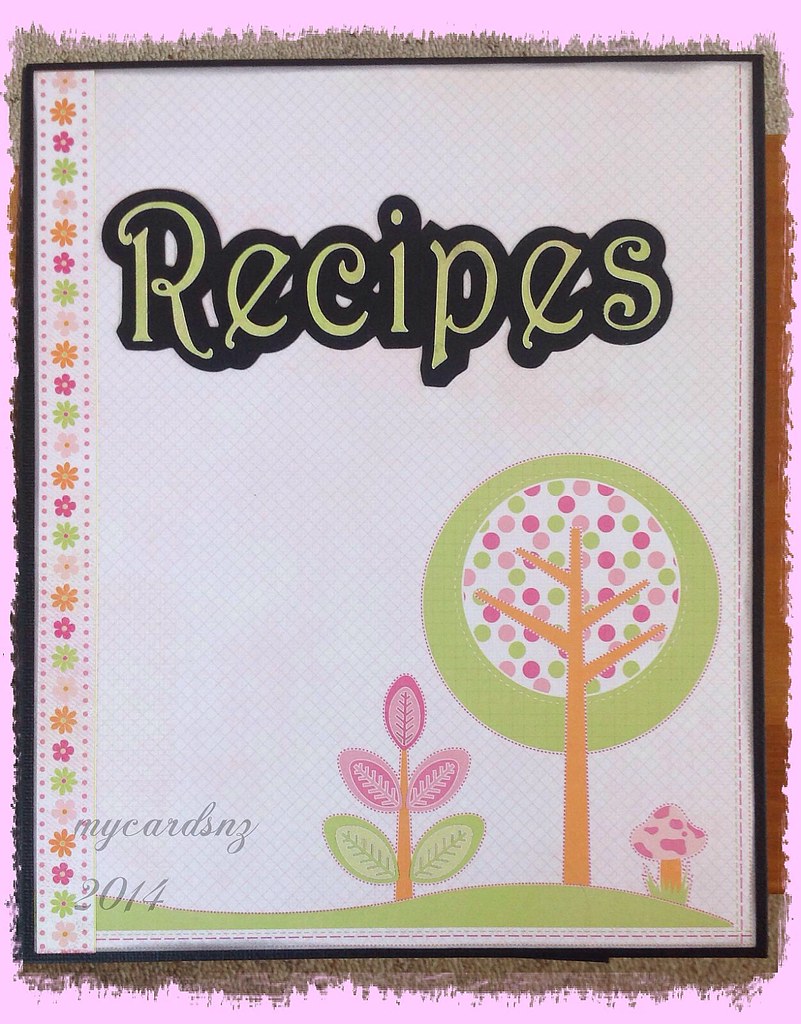
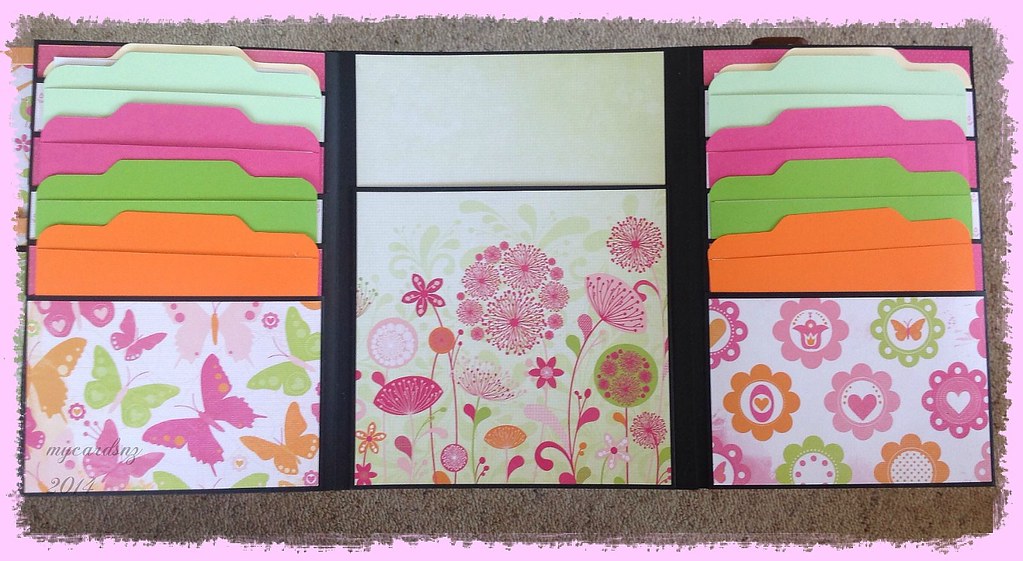
The folio in this post is one I made for a family member as a Christmas gift. It is the Recipe folio from Kathy Files.


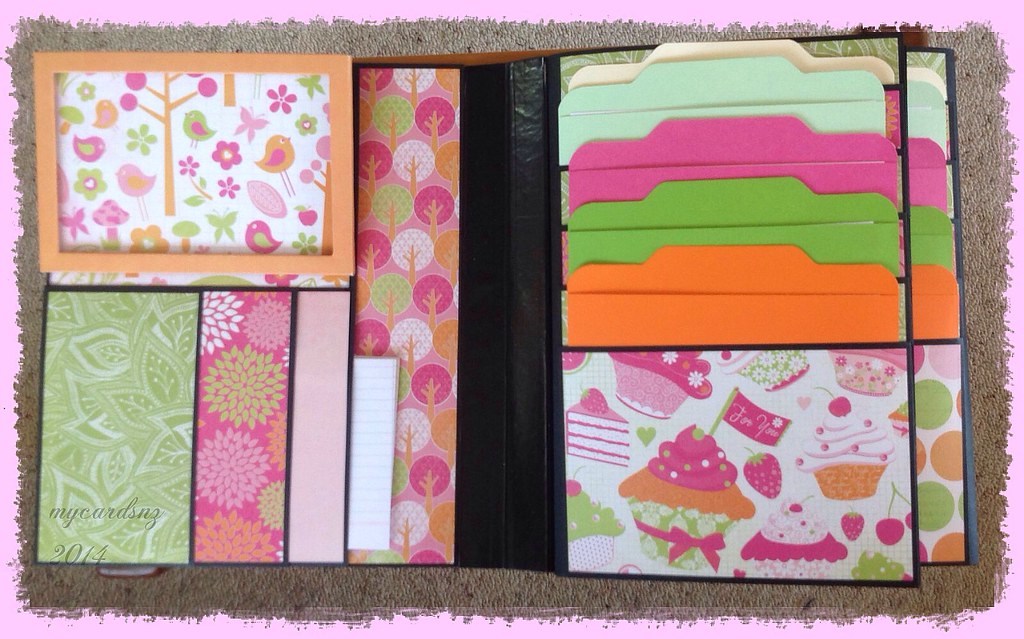
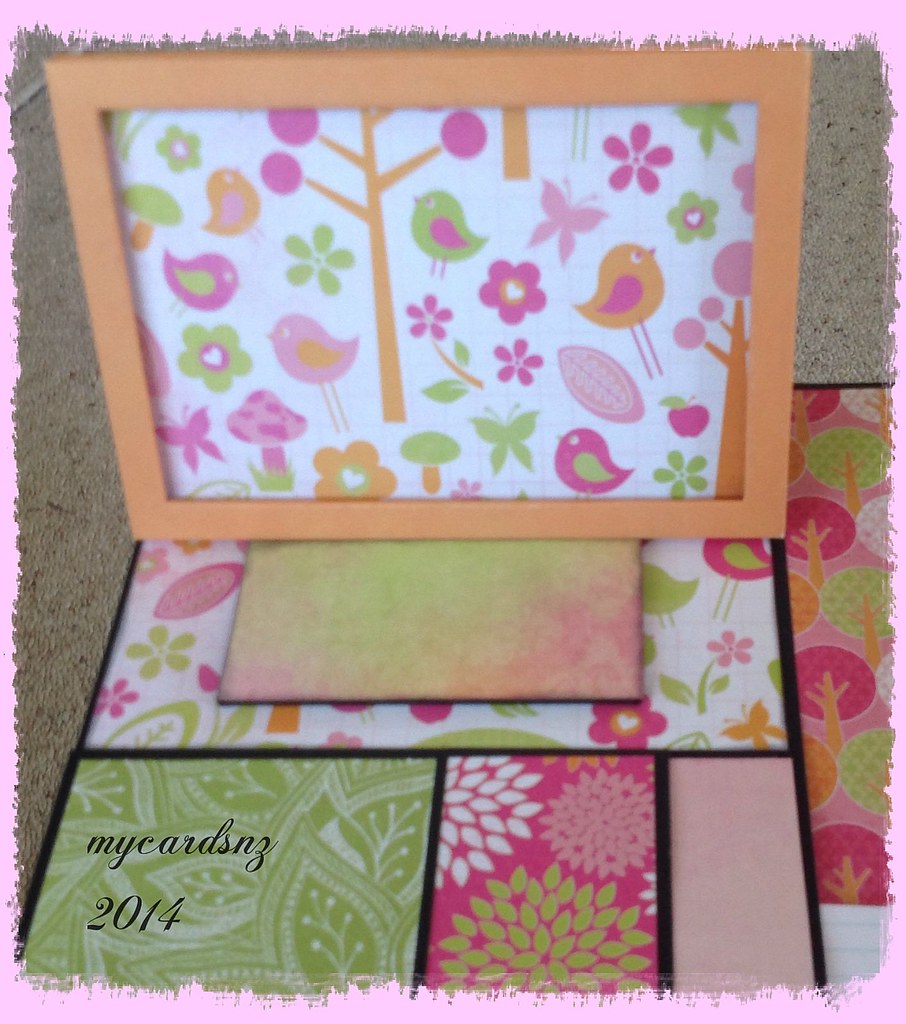
It has an easel stand for putting recipe cards into so you can see the recipe easily. The pockets contain little folders with recipe cards for writing down favourite recipes.


Originally, I included four sets of fold out pockets, but the folio would not close well with all the folders and cards in the pockets, so I removed two of the pocket sets. There are still 20 pockets with folders and cards in the folio.


- Posted using BlogPress from my iPad

Monday, October 6, 2014

Long Time!

It has been a very long time since I posted anything here, so as I had made a few cards at the weekend, I decided I should post them to show I have been doing something!

 This is a design I made using an article from a recent Craft Stamper magazine. I realised I had the stamp set used so gave the technique a try. It is a masking technique and worked out really well. I take no credit for the design whatsoever!

It does look lovely though!
 This is a card made using some background paper from my stash, which I have decided that I need to start using up. I have so much paper for scrapbooking and card making that it is really time to use it all. I do love keeping it to look at though! The stamp is from a Kaisercraft set.


Again, another card using background paper from my stash. These papers are so nice, they need very little further embellishment.


The technique used in this card is also from a Craft Stamper recent edition. I used distress paints  and sponge to swipe the paint across the card, then embellished it with a stamped image from the CS magazine. The words are another freebie stamp set from an Australian card making magazine.


Enjoy!

Thursday, July 24, 2014

Clock

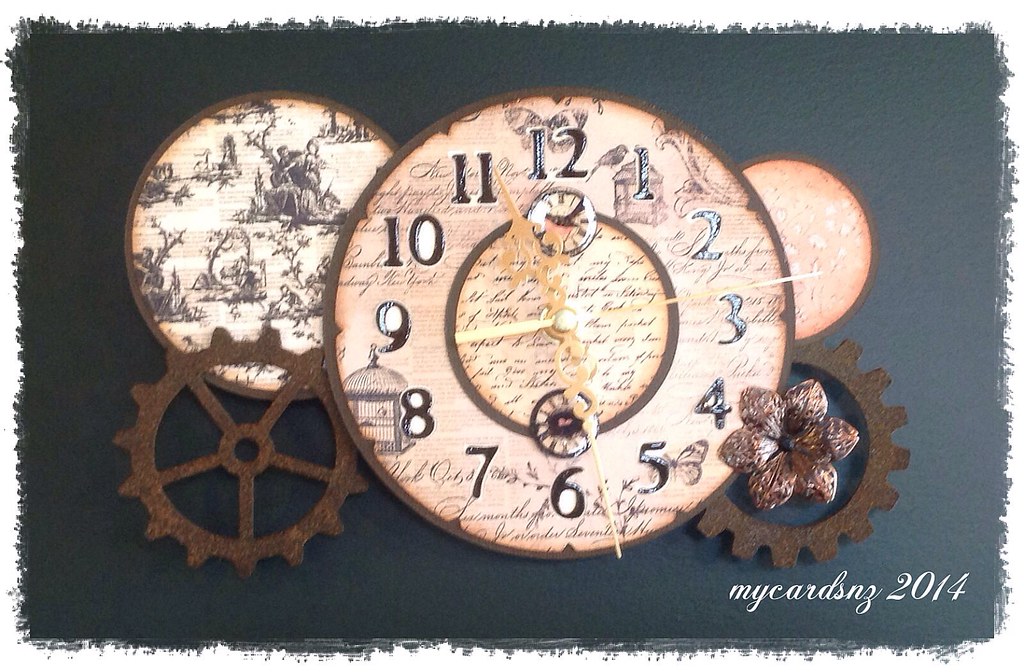
Recently, I bought some files from SVG Cuts including the set Maison de Madelaine. One of the files in the set was for this clock.


I cut the files on my trusty Cricut expression machine using a 6x6" paper pad (Almanac Collection by Prima) for the clock face and other pieces. The cogs were cut from lightweight chipboard and I layered several layers to make them reasonably stable and to stop them from bending. I used vintage photo distress embossing powder on the cogs to give them a slightly rusted look.

I used a clock movement I bought from Spotlight to complete the clock. It now rests very nicely on the wall in our dining room!

If you want to check out the wonderful cutting files and sets from SVG Cuts, please use the direct link on the top right hand side of my blog.


- Posted using BlogPress from my iPad

Wednesday, July 2, 2014

Photo Album for Mum's Birthday

My mother celebrated her 89th birthday at the weekend and to help her celebrate many years, I made her an album of photos from different periods in her life. The album design was from Anne over at http://www.annespapercreations.com/2014/04/tutorial-how-to-make-wallet-photo-mat_30.html - another of her unique designs.


I found the design to be easy to make and decorate, but found that I had to reduce the size of the pictures so they would fit onto the mats. Also, the folded mats for the narrow pockets - when they had photos attached, they were a tight fit in the slots. However, the end result was pleasing and Mum liked it a lot!


- Posted using BlogPress from my iPad